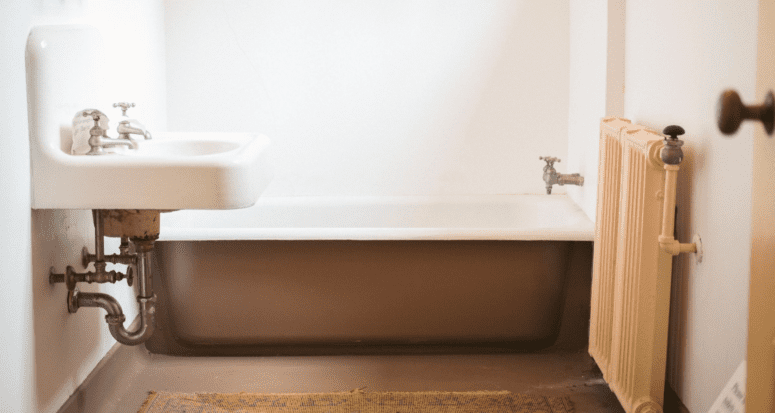
DIY Bathroom Remodeling Tips: A Little Help from the Pros
- Published on
- 10 min read
-
 Emma Diehl Contributing AuthorClose
Emma Diehl Contributing Author
Emma Diehl Contributing AuthorClose
Emma Diehl Contributing AuthorEmma's work has been featured in Huffington Post, NPR and XOJane. When she's not combing her neighborhood for open houses, she's writing about technology, real estate or data.
You’d love to change a million things about your dingy old bathroom, but you don’t have the budget for a fancy remodeling firm to magically transform it for you. You’re fairly handy, you’re not afraid to roll up your sleeves, and you’re hungry for a project. One day you throw out a crazy question: Can I DIY a bathroom remodel?
The answer is yes! Despite how complex and elaborate bathroom remodels can get (and a few projects you’ll need to hire a licensed pro for) nearly half of bathroom renovators chose to DIY their project in 2019, according to the National Association of Realtors.
With a little more digging, it becomes clear why so many are eager to go it alone. HomeAdvisor estimates that labor accounts for a hefty 60%-70% of bathroom remodel costs (compare that to 30%-35% for the kitchen).
And the payoff is worthwhile: “In my area, a renovated bathroom could easily add approximately $25,000 in value to the property,” says Basil Yaqub, a Bay Area real estate agent who’s purchased and flipped close to 300 homes in his career.
We spoke with real estate experts, house flippers, and DIY pros who blog about their work. It turns out there’s a lot you can do to refresh a bathroom with a little know-how and elbow grease. Here we share their advice for bathroom DIYers jumping in for the first time or looking for a little guidance along the way.
Leave certain tasks to the pros
Even the ambitious DIY-er doesn’t expect to renovate an entire bathroom on their own. While there are projects you can take on yourself, think about calling a professional instead of embarking on any of the following:
Electrical work
In some counties, it’s illegal for homeowners to do their own electrical work. Shoddy electrical work can also pose risk of electrocution or starting a fire. If you complete something incorrectly, hiring an electrician to clean up your work won’t be cheap.
If you plan to swap out light fixtures or switches, do it safely with the help of a licensed professional — ask any contractor connections you have or friends, family, or coworkers for a referral.
Waterproofing
There are tiling projects a DIY-er can take on, but anything around the tub or shower is generally off-limits, explains Yaqub.
“When you’re tiling around your bathtub or shower, you have to do waterproofing, and that’s an art. It could have long-term repercussions if you don’t do it right.” Turn to a contractor licensed to do waterproofing work.
Structural changes
Taking a sledgehammer to a wall could be a great way to work out aggression, but if it’s not done right, it could severely damage your home’s structure. If you’re not sure whether a wall is load-bearing, call a general contractor instead of tempting fate.
Where you can save with DIY
Taking on a few simple bathroom renovation projects is a great way to reduce costs. According to Yaqub, swapping out a few fixtures like the vanity, faucet, and toilet on your own instantly updates the bathroom, and saves you “$1,000 easily in labor,” he estimates.
If you feel comfortable with a hammer or power drills, you’ll be able to conquer these projects alone. While they may seem on the smaller side, these changes can make a big difference in the small room.
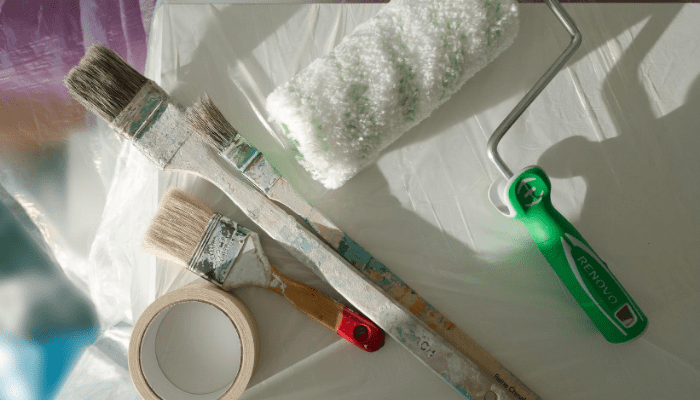
Repaint the vanity
Revive a dated vanity with a fresh coat of paint. A trendy neutral can make the room feel bigger, and the vanity brand new. Try one of these top neutral shades on your vanity as a foundation for the bathroom’s redesign:
Color inspo:
- A warm, timeless white: Sherwin Williams Alabaster
- A natural, calming gray: Benjamin Moore African Grey
- A soft pop of color: Benjamin Moore Platinum Gray
Here’s how to tackle the project, courtesy of interior design blogger Driven by Decor:
- Take photos of the vanity assembled before taking it apart to avoid confusion down the line.
- Use a screwdriver to take out the screws and hardware from drawers and cabinets, turning counterclockwise to remove them without damage.
- Clean the surfaces first with water and dish soap. Then apply water with a small amount of bleach to remove any mold or mildew.
- Fill in any nicks or scratches with an all purpose wood filler and putty knife.
- Lightly sand the surfaces of the vanity, drawers, and cabinets using 120 to 220-grit sandpaper, recommends Better Homes and Gardens, so the paint will stick.
- Paint the vanity, cabinets, and drawers with rollers and a paintbrush. Let the paint dry overnight, then lightly sand again, if necessary.
- Apply another coat of paint, then let it dry overnight.
- Reinstall the painted drawers and cabinets the same way you dismantled them. Check the reference photos you took at the beginning to make sure you’re done it correctly.
Swap out the faucet
Changing out a vanity faucet is fairly simple plumbing work, but “that’s about $500 in labor,” Yaqub says.
Even Moen, a well-known faucet creator, reveals that “replacing a faucet is a quick way to refresh the look of your kitchen or bathroom, but many people think it’s too complicated to do themselves. While this misconception is great for plumbers, the truth is that installing a faucet is actually a pretty straightforward job.”
Save a few bucks by swapping out the hardware on your own. Moen offers a handy step by step guide to DIY faucet replacement, noting that DIYers should always check the manufacturer’s instructions for installing the product.
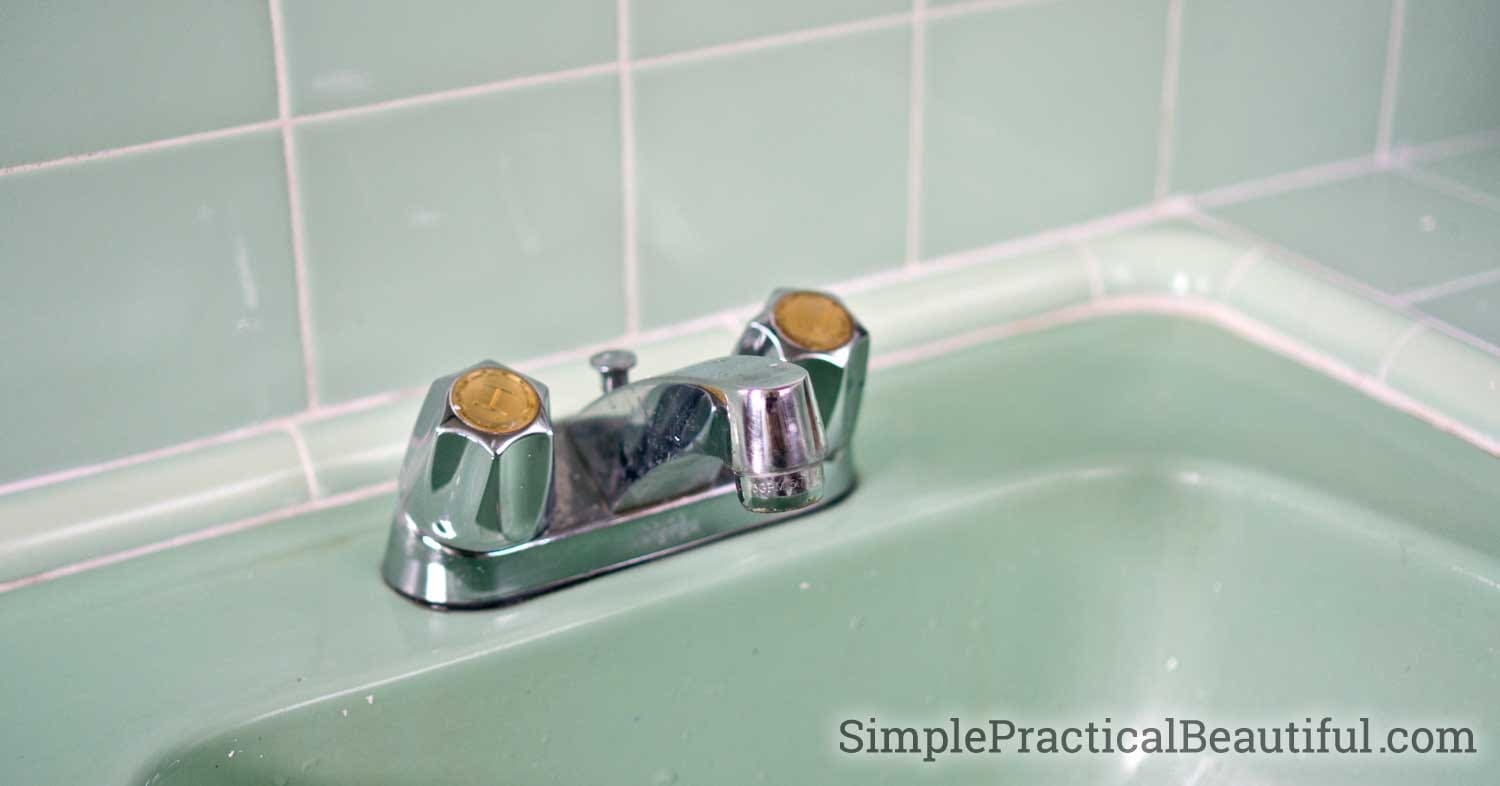
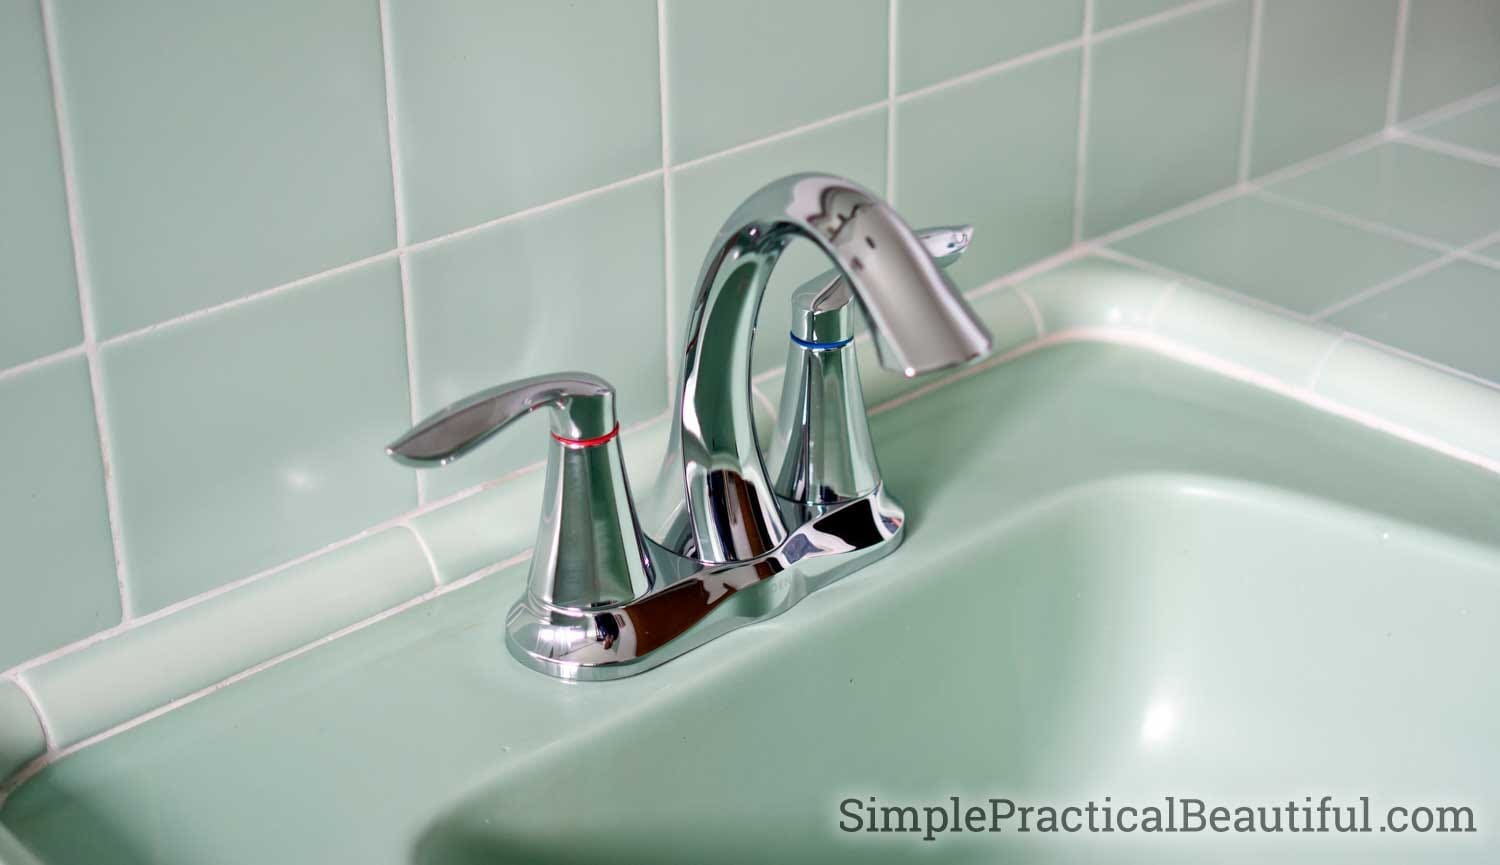
Switch outdated faucets for trendy brushed brass or matte black fixtures for an instant update.
Repaint vinyl floors
Bathrooms with dingy, dated vinyl tile can get a quick refresh with a coat of paint. The trick to this project is the prep work — make sure you thoroughly clean and lightly sand the flooring to ensure the paint sticks. Use painter’s tape to protect the baseboards, toilet, and cabinetry from the paint.
In addition, don’t skimp on the paint itself, recommends home renovation blogger Tanya Watson of Dans le Lakehouse. Think: more is more!
You’ll need to use a latex porch, floor, and patio paint for this job. Valspar’s latex floor paints come in a variety of colors, but consider one of the following shades to keep the bathroom from feeling too busy:
- Valspar Light Gray Gloss
- Valspar White Satin
- Valspar Light Gray Satin
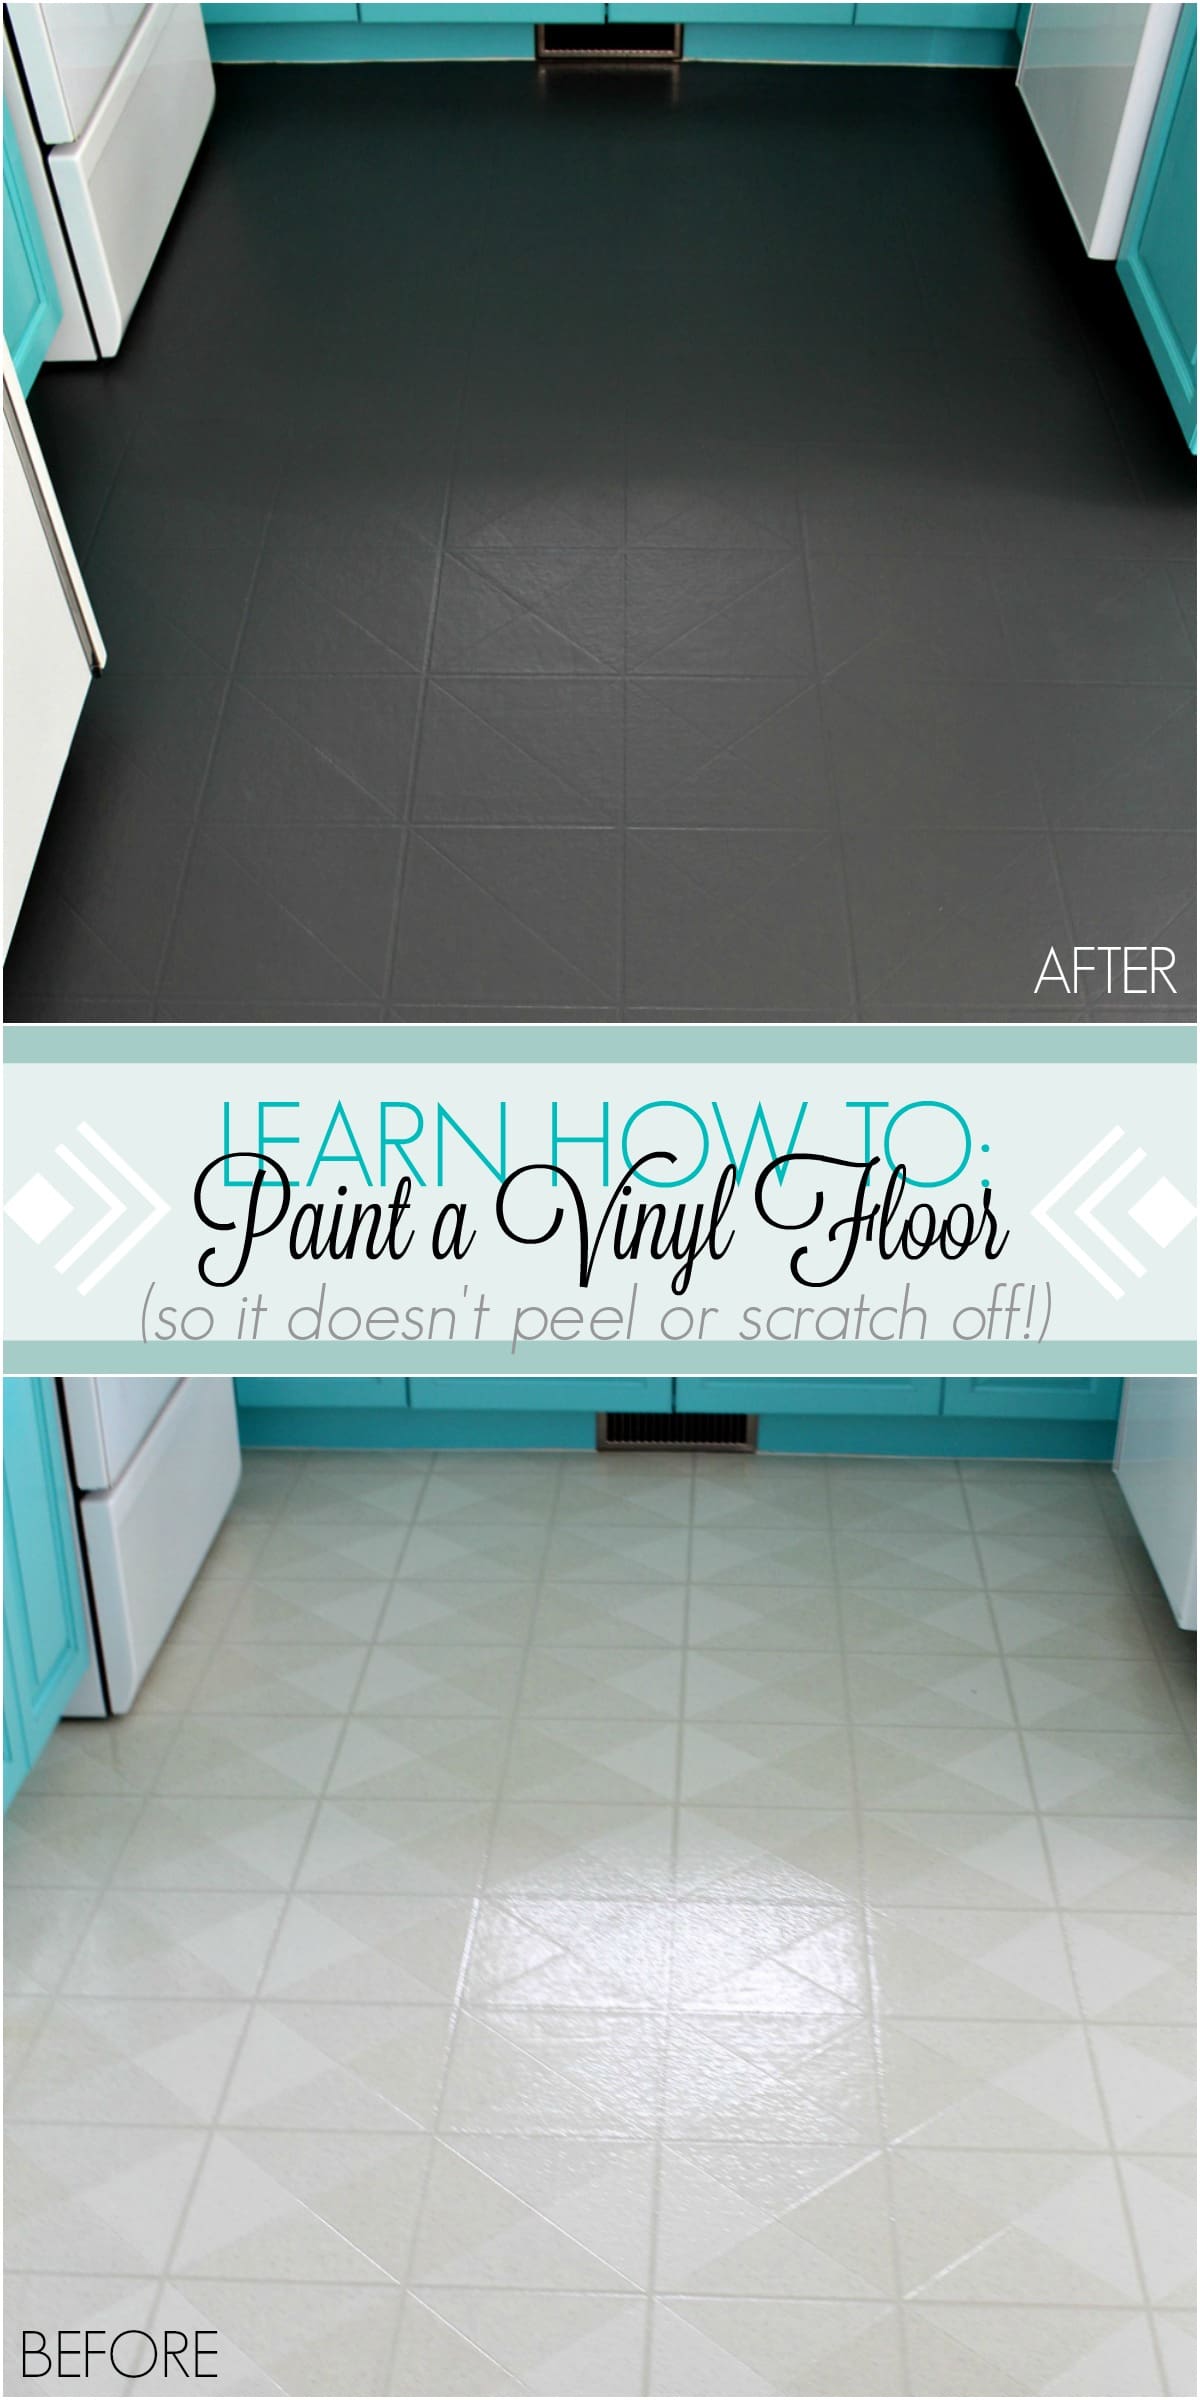
Plan on a primer coat, then two coats of the final color. With this project that is more time consuming than challenging from a skills perspective, be patient and make sure the floor is fully coated to prevent nicks or chips in the future.
Paint the walls
“Paint is a great way to make a big impact,” explains Lauren Ahrens, an Austin flipper with a fanbase of 65,000+ on YouTube. “Stick with a neutral color that will go with your current scheme and any upgrades you have planned for the future. Our go-to color is Sherwin Williams’ Drift of Mist — it’s the perfect gray and goes with everything.”
To paint like a pro in the bathroom, use a paint with a satin finish — which will be more durable than eggshell or semi-gloss in areas of high moisture, advises Consumer Reports.
Before painting, thoroughly scrub the bathroom walls using a sponge with a mix of 1 parts bleach to three parts water to cut through any mildew that could be lingering on the wall. To avoid the paint bleeding onto baseboards or fixtures, apply painter’s tape. Paint corners and nooks with an angled sash brush for more control than a flat brush.
Remove glass shower doors
Sliding frosted glass shower doors can make a bathroom feel dated and small, but luckily, removing them is a lot easier than it looks.
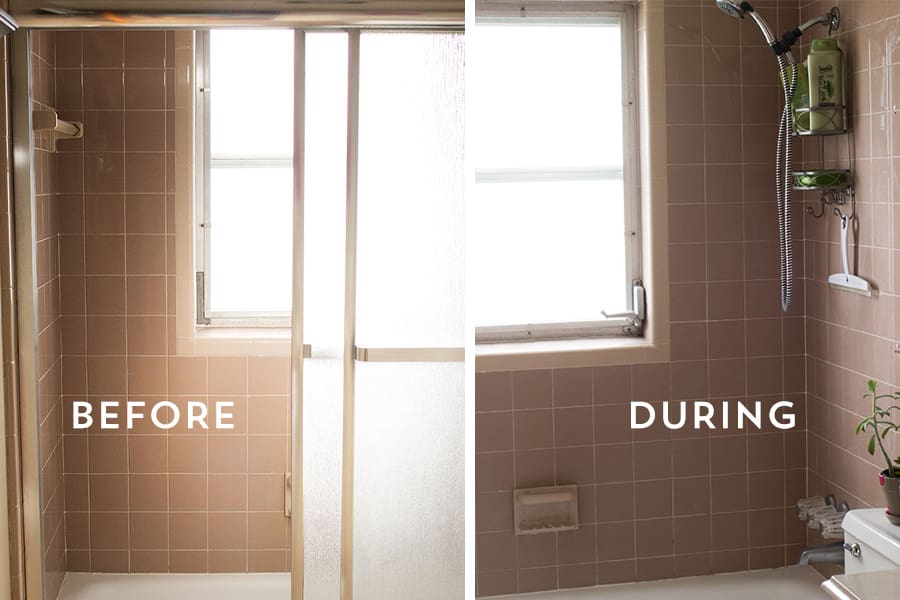
First remove the shower doors from their track — typically you’ll lift them up to get them out. Then use a screwdriver, removing the visible screws from the frame with a counterclockwise turn.
With the screws removed, the only thing holding the frame in place is caulk. Carefully cut through the caulk using an X-Acto knife or other sharp blade.
Cut along the caulk and the wall and tub, not against it to avoid nicking the tile. Fair warning, you will have to spend a fair amount of time scraping up the excess caulk from the tub and walls, according to a guide from Apartment Therapy. The top rail should simply pop off, since it’s not caulked to the wall or bathtub.
Once you’ve cleaned up the caulk and patched the screw holes, you can hang a standard rod and modern print shower curtain for added visual interest.
Replace the toilet
Ditch the faux wood lid or kitschy crochet toilet cover and replace it with a modern toilet.
“This is one of the main projects I recommend [to sellers],” explains Yaqub, as it’s an inexpensive purchase that can bring an instant update to the bathroom. In many counties, this project does require a permit, so double check before you throw out that porcelain throne.
Changing out the toilet isn’t too challenging, but you will want to have a partner on hand to help move and place the heavy fixture.
(Source: Thrift Diving)
Start by turning off the toilet’s water supply, then flush it to remove any water from the bowl or tank. Once the toilet is dry, disconnect the water supply line.
Next, tackle the bolts connecting the bowl to the ground with an adjustable wrench. Wiggle the toilet back and forth to break the wax seal line, then lift it off and remove it. Scrape off remaining wax and plug the hole with a rag to keep sewer gases from leaking into your bathroom. Apply the new wax ring to your new toilet.
With help, turn the toilet right side up, and align it with the existing bolts in the floor. Rock the new toilet side to side to seal the new wax ring, tighten the bolts with your wrench, reconnect the water supply, caulk the base and you’ve just installed a new toilet.
When picking out a new toilet for the bathroom, take some time to consider size and style. A standard height toilet is about 17 inches off the floor, but there are also chair height toilets measuring 19 inches off the floor better suited to people with mobility limitations — perfect for a dual master suite property hosting multi-generational families.
Brighten up your grout
Coming in at just under $10, this grout renewer offers the biggest bang for your buck in the bathroom. Create an instant refresh on your bathroom floor by turning a dirty or dingy grout bright white.
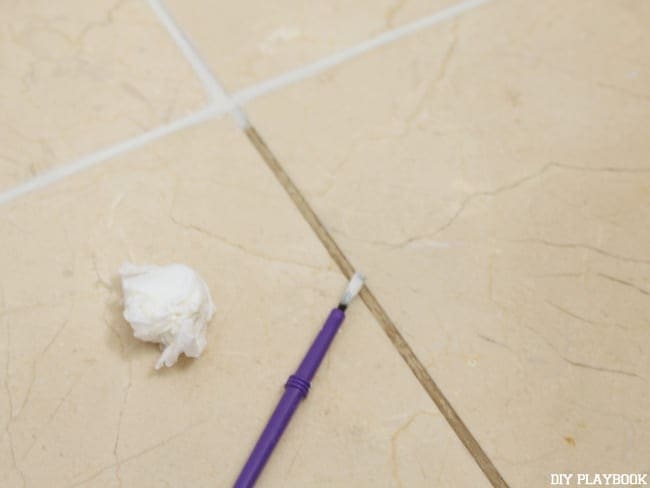
After a thorough cleaning of the tile floor, all you need to do is paint the pattern between grout lines. If you fall outside the lines, just wipe off the excess on tile with a sponge. Updating the grout to a bright white can make the bathroom appear larger and spa-like.
Replace water-damaged baseboards
One tell-tale age spot in a bathroom is the baseboards. Many baseboards around the vanity or the toilet have some water damage on them, “Baseboards are a very easy DIY project,” says Yaqub.
If you took some kind of woodshop in school, and don’t mind exact measuring, you shouldn’t have a problem with this project:
- Take precise measurements of all the baseboards that need replacing. When in doubt, round up.
- Bring the measurements to a local hardware store or lumber supply yard. Have them cut molding to your specifications.
- Remove the old molding with a putty knife. Wedge the knife between the baseboard and wall, then gently pry the molding loose from the wall. Once the molding is loose, remove it, along with the nails used to hold it in place.
- Cut the new baseboard to fit the walls. Nail in the baseboards (rent a nail gun at Home Depot to save time), then caulk the top and bottom of the baseboards, and the nail holes.
- Outside and inside corners have trickier cuts to ensure proper fit. Use a miter saw and the appropriate method to ensure a seamless installation. If you don’t have or feel comfortable using a miter saw, chances are your local hardware store employee can cut to your precise measurements at time of purchase.
(Source: Home Depot)
Peel and stick backsplash
Transforming your wall is as easy as peeling off a sticker. Create a trendy backsplash behind your bathroom sink using peel and stick Smart Tiles. To create a custom backsplash behind your sink you’ll need:
- Peel and stick tiles
- A box cutter
- A ruler
- A level
First, you’ll want to clean up your walls. According to reviews, these work best with freshly painted walls, but a good cleaning should do the trick. Use a level to trace a line across your wall to ensure the tiles are correctly aligned once they’re stuck on.
From there, it’ll take a little puzzling. Home Depot recommends creating a template of the tiles you’re using to get an idea of where you may need to cut the panels to accommodate outlets or corners. Take care to plan the layout before you start sticking — it’s hard to pull these super sticky tiles off the wall once they’re adhered.
While these make a great sink backsplash, avoiding using them in the shower or tub where waterproof tiling is necessary.
Don’t forget permits
According to Miller Construction and Design you’ll need a permit for any work pertaining to plumbing or shower structure — that means upgrading a toilet or installing a new vanity will require a permit.
“99% of the time, you’ll need a permit for these projects,” Yaqub says. “You’ll need to check your local ordinances.” You can apply for a permit through your local city or municipal office. If your project is simple, you’ll likely be granted a permit on the spot. If it’s more involved, they may require an inspection.
DIY bathroom remodeling: Well worth the effort!
You don’t need to go through a complete demolition and remodel to make your bathroom look and feel brand new. A simple swap of the toilet, fixtures, and baseboard; a thorough paint job; and freshening up the floor, walls, grout, and vanity are low cost ways to make the bathroom look remodeled without paying a professional.
Avoid high-labor projects like new tiling or a shower replacement to keep costs down, giving you a greater bang for your buck with the projects you choose to take on. With a lot of prep work, and a little patience, you can end up with a transformed bathroom on half the budget.
Header Image Source: (Joshua Bartell / Unsplash)
At HomeLight, our vision is a world where every real estate transaction is simple, certain, and satisfying. Therefore, we promote strict editorial integrity in each of our posts.