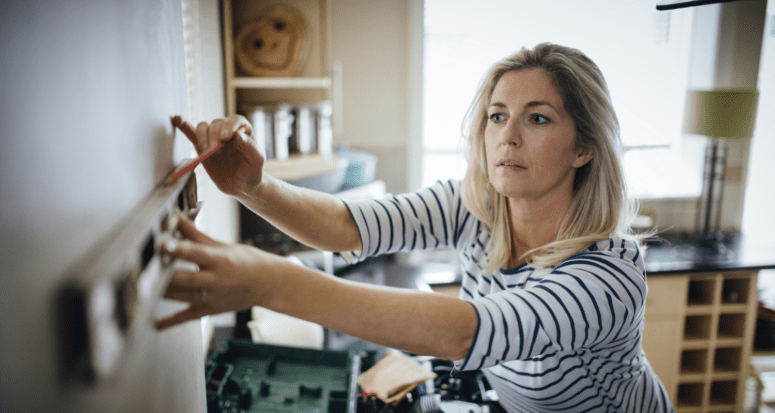
5 DIY Home Projects to Cure Cabin Fever and Boost Property Value
- Published on
- 5 min read
-
 Presley Attardo Contributing AuthorClose
Presley Attardo Contributing Author
Presley Attardo Contributing AuthorClose
Presley Attardo Contributing AuthorPresley is a Seattle based writer covering interior design trends, home improvement, and market updates. She has lived in San Francisco, Los Angeles, Chicago, and Washington, D.C., giving her a unique perspective on the diversity of U.S. real estate.
Quarantine got you stir crazy? Chances are everyone will be spending more time at home this year than planned. Why not put those extra hours toward improving your surroundings?
We recommend tackling these five DIY home improvement projects to beautify your 24-7 living space and boost your property value. These projects are easy and high impact, requiring few supplies you can order online from the comfort of your couch.
Best of all, every upgrade is homebuyer-approved, recommended by top real estate agent Drew Coleman, who sells properties 53% quicker than the average agent in Portland, OR — just in case you decide to put up the for-sale sign anytime soon.

1. Wallpaper your bathroom or laundry room
Wallpaper is back, baby. That’s right, you heard us. While you want to keep the majority of your home’s walls neutral to appeal to the most buyers, you can play with this trend in smaller spaces such as the bathroom or laundry room.
Coleman comments: “We’re ironically seeing high-end wallpaper come back into the powder bathroom as a fun calling card for the house. It’s like, ‘Which house was that? Oh, yeah, it was the one with the anchor wallpaper in the powder bath.’”
Traditional flowers, cool palm patterns, and contemporary geometrics — there’s an endless selection of prints and textures to choose from. Before you commit to a purchase, consult your real estate agent for an objective opinion. They’ll help you narrow down which subtle styles buyers will love.
For the bathroom, ensure you purchase a wallpaper that’s moisture-resistant. Check the product description to determine if the wallpaper is suitable; generally, invariable vinyl, heavyweight vinyl, and vinyl-coated are your safest options.
Browse tasteful wallpaper selections from these online retailers:
Instructions:
DIY wallpapering is a more involved project, but the final results are well worth the effort. Watch this Bring Your Own Tools (BYOT) video for detailed instructions.
2. Bleach and recaulk showers and tubs to rejuvenate your bathroom
Moldy, grimy showers and tubs make buyers think your bathroom is in worse condition than it truly is. Thankfully, removing mold and stains on caulking is a fairly easy fix that takes up only a few hours of your time.
DIY bleach recipes:
- 1/4 cup bleach per gallon of warm water (too hot of water will make the bleach less effective)
- 1/2 cup chlorine bleach, 1/4 cup baking soda
Bleaching instructions:
- Take proper precautions to use bleach safely. Open windows and doors to keep the bathroom well-ventilated. Wear rubber gloves, old clothes, and your trusty face mask while cleaning.
- Clean and rinse caulk with soap and warm water.
- Rub bleach mix onto the caulk with a rag or old paintbrush.
- If using a bleach and baking soda mix, cover the paste with plastic wrap to prevent the mixture from drying and let sit for two to three hours. Otherwise, rinse the bleach off after a few minutes.
Recaulking instructions:
- Clean and rinse the caulk with soap and warm water.
- Dry thoroughly to prevent future mold from occurring.
- Remove existing caulk with a putty knife, utility razor, or a 5–in–1 painter’s tool. Be careful not to scratch the surrounding surfaces.
- Apply painter’s tape about 1/8 inch on both sides of the seam. Take your time with this step. The more precise you are, the easier it is to achieve a smooth, straight line.
- Cut the end of your caulk at an angle using a razor blade.
- Apply the caulk on the seam at an even pace, applying steady pressure. Check out this how-to video for an example of ideal pacing.
- Smooth the fresh caulk line with a dampened rag, paper towel, or ice cube. Your goal is to achieve an even, slightly concave surface.
- Remove the painters tape and correct any smudges.
- Wait 24 hours for the caulk to dry completely before using your shower or tub.
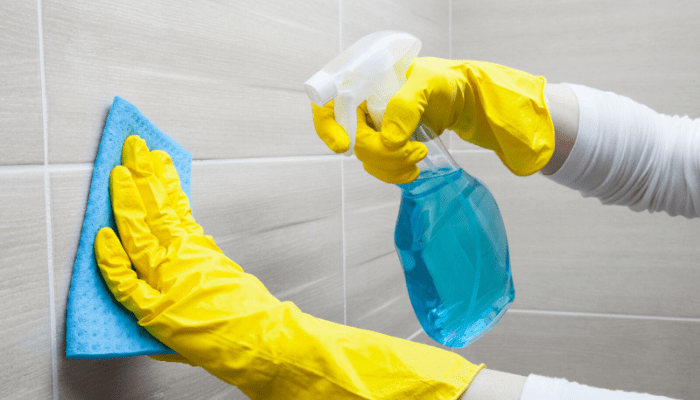
3. Clean white tile grout for a sparkling clean finish
Find your inner bravery to tackle this dreaded home improvement project. There is a multitude of DIY cleaning solutions you can concoct using ingredients found in your pantry. Pair one of these recipes below with an old toothbrush and get scrubbing!
DIY cleanser recipes:
- 1 cup baking soda, 1 cup hydrogen peroxide
- 1/2 cup of baking soda, 1/4 cup of hydrogen peroxide, 1 tsp dish soap
- 1 cup Epsom salts, 1/2 cup baking soda, 1/4 cup liquid dish soap
- 3 cups water, ½ cup baking soda, 1/3 cup fresh lemon juice, 1/4 cup white vinegar
- 1/2 cup white vinegar, 1 tbsp hand-dishwashing detergent
Instructions:
- Spray or rub cleanser onto the grout and let sit for 5-10 minutes.
- Scrub cleanser into grout using a toothbrush or dishwashing brush.
- Rinse and mop up the solution with warm water. If using a vinegar product, add a small amount of soap or floor cleaner to the water to eliminate any residual odor.
4. Instantly boost curb appeal with a layer of fresh mulch
“Bark dust is probably one of the best investments in real estate of all time, because if you drive up to a property and there’s fresh bark, the human mind automatically thinks, ‘Wow, this must be really nice,’” Coleman shares.
“If everything looks clean and crisp in that eight seconds people use to make decisions, then you’re starting off on a good path.”
Agreeing with Coleman, 84.14% of top real estate agents recommend that homeowners lay fresh mulch before selling according to HomeLight’s Top Agent Insights Q2 2019 Report. This upgrade costs on average $340 to bring you a $769 increase in home value — that’s a massive 126% Return on Investment (ROI).
Order mulch in a color that best suits your home’s exterior and landscaping:
- Red: Red-toned mulch pairs beautifully with warm exteriors, especially with Spanish and Mediterranean homes.
- Straw: Most popular in southern states, pine straw’s light color is a neutral addition to almost any home.
- Black: For a contemporary twist, use black mulch to make your greenery pop. Black mulch is perfect for modern homes with clean lines and cool color palettes.
- Brown: Closely mimicking soil, brown mulches are extremely versatile, complementing almost any home.
- Grey: River stones and gravel are low-maintenance grey mulches that suit homes with cool-toned exterior and hardscaping.
Instructions:
- Perform basic garden maintenance before you lay the mulch: Pull up weeds, turn the soil, and plant any new flowers and shrubs.
- Lay 4-6 inches of mulch to discourage new weeds from sprouting. In shaded areas, 2-3 inches is usually sufficient.
- For the best results, leave adequate 1-2 inches of space around plants and 6-12 inches around tree trunks. Since mulch retains water and keeps soil cool, laying the material too close to plants can slow growth and encourage mold.
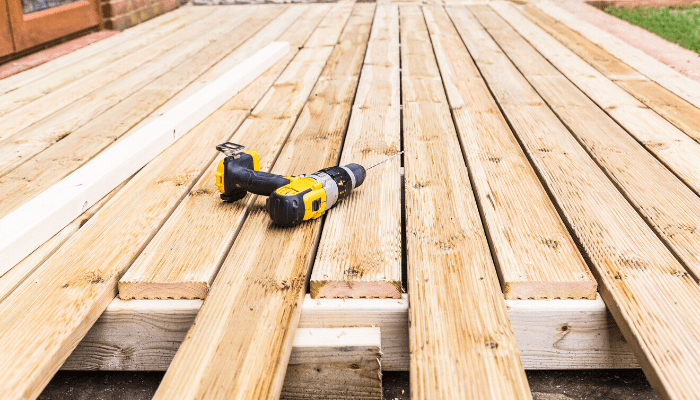
5. Maintain your deck for a more enticing outdoor living space
In the backyard, Coleman recommends refinishing your deck for a perfected outdoor entertaining area: “People really like decks, and I think that one thing that’s going to come out of this period is people spending more and more time at home. So outdoor areas are important.”
Instructions:
- Remove loose paint, damage, and build up stains with a paint scraper. Lightly sand scraped areas to blend them into the surrounding wood.
- Replace any missing or protruding screws.
- Clean your deck with a store-bought deck cleaner or a homemade solution consisting of 1 gallon water, 1 cup powdered laundry detergent (bleach-free), and 3/4 cup oxygen bleach.
- Scrub the deck with a non-wire brush to exfoliate the wood. This allows the sealer to seep in deeper.
- Wait for the deck to dry completely. This may take 48 hours or longer, depending on the weather and type of wood.
- Sand the deck with an orbital floor sander or a belt sander. For harder woods, use coarse 20-grit sandpaper; for softer woods, start with 50-grit.
- Repeat the process using a finer grit for a smooth finish.
- With a vacuum or leaf blower, clear all dust and particles from the deck.
- If you want to apply a stain, follow the directions on your deck stain product. Depending on the product, you may apply the stain with a pump sprayer, paintbrush, paint roller, or staining pad.
- Once the stain is completely dry, seal the deck following the directions on your sealant of choice. Translucent and clear finishes show off your wood’s natural grain and beauty. More opaque sealants are more weather-resistant and require less frequent application.
Productive and fun, DIY projects are a perfect solution to cabin fever
Quarantine provides an opportunity for the restless homeowner to increase their home value with some sweat equity. For the best return on investment, always keep your buyer pool in mind when planning home improvements. By improving your home’s style and increasing marketability when it’s time to sell, you’ll enjoy the fruits of your labor twice over.
Header Image Source: (DGLimages / ShutterStock)
At HomeLight, our vision is a world where every real estate transaction is simple, certain, and satisfying. Therefore, we promote strict editorial integrity in each of our posts.
